How to Dual Boot Arch Linux and Windows (UEFI Step-by-Step Guide)
archlinux dual boot arch linux windows howto musabase guides musabase guides windows")


This guide is part of the MusaBase Arch Linux series. For the complete overview, see the Arch Linux Complete Roadmap.
Dual Booting Arch Linux with Windows is now simpler than ever.
Hi my name is Abdullah Musa and welcome to my blog, MusaBase!. In this comprehensive guide, I'll walk you through dual booting Arch Linux and Windows on your PC. Imagine a computing experience where the sleek, familiar interface of Windows meets the raw, customizable power of Arch Linux, all on one machine. In this guide you'll learn:
- Preparing Storage for Dual Booting with Windows
- Configuring UEFI Settings for Linux Compatibility
- Partitioning and Formatting Drives for Shared Ecosystem
- Arch Linux Base Installation and Bootloader Integration
- Managing Dual Boot Bootloader (GRUB) to Switch Between OS
Although dual booting may seem daunting, like managing two vastly different operating systems, this step-by-step guide will demystify the process. Sure, it's technical, but follow along closely, and i'll turn those "what-ifs" into "how-tos." By the end, you'll reboot with confidence, flipping between Netflix on Windows and a blazing-fast Arch terminal like a tech wizard.
Prerequisites
Before you begin dual booting, ensure you have either a dedicated partition or a separate disk for each operating system. Windows will occupy one partition (or disk) with its own file system, while Linux will use another.
Although you can install Linux on the same drive by creating a separate partition, doing so may compromise Windows' recovery features or even lead to data loss if not done carefully. For this reason, it's crucial to back up your data completely before proceeding. Since Windows is already installed on my PC, I'll move directly to installing Linux and configuring the system for dual boot.
Step 1: Listing All Connected Drives
When we boot into the Arch Linux installer, we are greeted by a familiar screen:

Our first task is to list all connected devices and partitions.
- To do this, type:
lsblk

By clearly understanding the partition layout from the outset, we ensure a smooth dual-boot installation process for both Arch Linux and Windows.
Step 2: Disk Partitioning with cfdisk
For now, if we type cfdisk in the terminal without any arguments, it will by default open the partition table for the first connected physical drive (in our case, sda). Our sda drive contains Windows along with its associated partitions and files.

To install Linux on a separate disk and create dedicated partitions for it, we need to specify the target disk when launching cfdisk. For example, if we want to install Linux on the sdb disk, we run the following command:
cfdisk /dev/sdxSince I am installing Linux on my second drive, then for me the command is:
cfdisk /dev/sdb
After pressing Enter, we have this screen:

- Select GPT, because Linux works optimally with GPT (GUID Partition Table).
After selecting the Label Type, you would have a similar screen:

Navigating the cfdisk interface
In the cfdisk interface, we can navigate using the keyboard arrow keys:
- Up () & Down () arrow keys to move between partitions in the middle screen.
- Left () & Right () arrow keys to move through the Options menu at the bottom of the screen.
2.1: Creating the Boot Partition
The boot partition will be responsible for booting our system.
- Select the [ New ] option from the bottom menu and press Enter.
- A prompt appears at the bottom, asking how much space to allocate for this partition.
- Type the desired size using digits.
- Use a capital G for gigabytes (GB) or a capital M for megabytes (MB).
Please refer to the images below for visual examples:


2.2: Creating the Swap Partition
The Swap partition acts as virtual memory when the system runs out of physical RAM.
- Navigate down to select the Free Space.
- Move left to the [ New ] option and press Enter.
- When prompted at the bottom, enter the desired size.
- Allocate between 4 GB and 32 GB based on your system's needs.
Please refer to the images for visual examples:


2.3: Creating the Root Partition
The root partition will contain the operating system files and other essential directories.
- Navigate down to the Free Space.
- Move left to the [ New ] option and press Enter.
- If you want to allocate all remaining space for this partition, simply accept the suggested size by pressing Enter. If you plan to create additional partitions later, you might allocate around 20 GB or less for the root partition.
Please refer to the images for visual examples:


2.4: Writing the Partition Table
After creating all the partitions, it's time to commit these changes by writing the new partition table to the disk.
- Navigate right to the [ Write ] option and press Enter.
- A prompt appears at the bottom asking, "Are you sure you want to write the partition table to disk?"
- Type yes and press Enter to commit the changes.
Please refer to the images for visual examples:


At this stage, all partitions are successfully created and the filesystem is now ready for data storage.
If everything went right, then we can see a filesystem like this:

2.5: Finalizing the Partition Setup
- Navigate to the [ Quit ] option and press Enter to return to the Arch Linux terminal.
This step-by-step guide on using cfdisk for disk partitioning ensures that we are aligned in our dual-boot journey for Arch Linux and Windows. By following these detailed instructions, we can confidently partition our drives for a smooth installation experience.
Step 3: Formatting Partitions
Before moving on to the next stage of our Arch Linux installation, we need to format the partitions we created to ensure that our system's storage is properly prepared.
3.1: Listing Storage Devices
- Type lsblk; it will list all connected storage devices with their partitions.
lsblk
3.2: Formatting the Root Partition
Our first task is to format the root partition, which in our setup is /dev/sdb4.
- We can use the mkfs command to create an Ext4 filesystem.
- To create an Ext4 filesystem for our root partition, type:
mkfs.ext4 /dev/sdb4

3.3: Formatting the Boot Partition
Next, we format the boot partition. In our configuration, this is /dev/sdb2. We can create a FAT32 filesystem on it.
- To create a FAT32 filesystem for our boot partition, type:
mkfs.fat -F 32 /dev/sdb2

3.4: Setting Up the Swap Partition
The swap partition does not require formatting. Instead, we need to initialize it as a swap area. In our setup, the swap partition is /dev/sdb3.
- To configure our swap partition, type:
mkswap /dev/sdb3

With these steps completed, all our partitions are properly formatted and ready for the next phase of our Arch Linux installation. This meticulous process ensures that our dual-boot system is set up securely and efficiently.
Step 4: Mounting Partitions
Now that we have created and formatted our partitions for Arch Linux, it's time to mount them so we can continue with the installation process.
4.1: Mount the Root Partition
First, we mount the root partition (in our case, /dev/sdb4) to the mount point. This partition will house our operating system and other essential files.
- To mount the root partition, type:
mount /dev/sdb4 /mnt
4.2: Mount the Boot Partition
Next, we need to mount the boot partition. However, the boot/EFI directory does not exist in the root partition yet. We need to create it first.
- To create the directory, type:
mkdir -p /mnt/boot/efi
Now, mount the boot partition (in our configuration /dev/sdb2) at /boot/efi.
- To mount the boot partition, type:
mount /dev/sdb2 /mnt/boot/efi
4.3: Enabling the Swap Partition
For the swap partition, we don't have to mount it anywhere; we just have to turn it on. In our setup, it is /dev/sdb3.
- To turn on the swap partition, type:
swapon /dev/sdb3
4.4: Verifying the Partition Layout
- To ensure that our partitions are correctly mounted and recognized, run:
lsblk
By following these steps, we ensure that our system's partitions are correctly mounted and prepared for the next phase of our dual-boot Arch Linux installation. This methodical approach guarantees a smoother installation process and enhances system reliability.
Step 5: Installing the Base System
Now that we have our partitions mounted, it's time to install the base Arch Linux system along with essential core packages. We install the base system into the /mnt directory, a temporary mount point on our sdb drive, which is the drive we partitioned and mounted for our Linux filesystem. Once the installation is complete and we reboot, our system will boot from the installed OS, and the /mnt directory will no longer be needed.
5.1: Installing Linux Firmware and Base Packages
Arch Linux provides the pacstrap script to install essential packages into the root filesystem of a new installation.
- To install the Linux Firmware and base packages required for managing our operating system, we need pacstrap:
pacstrap /mnt base linux linux-firmware sof-firmware base-devel grub efibootmgr nano networkmanager


What is the purpose of each package?
By executing the above command, we install a robust base system that forms the foundation of our dual-boot Arch Linux and Windows setup. This methodical approach not only streamlines our installation process but also ensures our system is optimized for performance and reliability.
Step 6: Generating the File System Table (fstab)
During installation, we manually mounted our partitions, but these mounts are only temporary. Now, we need to retrieve the filesystem information from these temporary mounts and store it in a configuration file. This ensures that the system automatically mounts the partitions at every startup, allowing Linux to locate its files and data correctly.
- To retrieve the filesystem information, we can use genfstab:
genfstab /mnt
At this point, we can see the mounted filesystem listed in the terminal. As we can see, our partitions are correctly formatted and in the right structure:
- /dev/sdb4: is our root partition.
- /dev/sdb2: is our boot partition.
- /dev/sdb3: is our swap partition.
However, we don't need this output displayed on the terminal; we need to save it to a file instead.
- To store the mount information in an actual file, type:
genfstab /mnt > /mnt/etc/fstab
Now, the fstab content from the terminal is saved inside a file.
- To verify that the filesystem table has been successfully stored in /mnt/etc/fstab, type:
cat /mnt/etc/fstab
By following these steps, we ensure that the mounted partitions are persistently configured, paving the way for a smooth and reliable boot process for our new Arch Linux installation.
Step 7: Chrooting into the Installed System
Now that we have configured our partitions and installed the base system, it's time to switch our current environment's root directory to that of the newly installed system, a process known as chrooting. This step is essential before installing a GUI or any other additional components. It allows us to configure core services, set up system configuration files, install the bootloader, set the root password, and create a user account from within our new Arch Linux environment.
- To change our root directory, type:
arch-chroot /mnt
Now that we are inside our newly installed Arch Linux system's root directory. One thing to note here is, when we change the root from the live installation environment to the installed system's environment, the shell prompt root@archiso ~ # _ changes to [root@archiso /]# _
Like this:

This new prompt confirms that we are now in the new environment, ready to install and configure the remaining components. This chroot step is a crucial part of our dual-boot setup for Arch Linux and Windows, ensuring that we are fully prepared to finalize our system configuration.
Step 8: Configuring the Base System
In the chroot environment, we must configure several system settings and create a regular user account with sudo privileges for improved security. Rather than using the root account for everyday tasks, setting up a non-root user helps protect our system from accidental changes and potential security risks. Below are the essential configurations we need to perform:
- Setting Up Time Zone
- Localization
- Hostname
- Root Password
- Add a User and Granting Sudo Privileges
8.1: Setting Up Time Zone
To ensure our system uses the correct local time, we create a symbolic link for our time zone file.
- To set the timezone to our local time, type:
ln -sf /usr/share/zoneinfo/Region/City /etc/localtimeThe actual command would look like this:
ln -sf /usr/share/zoneinfo/Asia/Karachi /etc/localtime
- To confirm that the time has been set correctly, type:
date- Next, synchronize the system clock (hwclock) by typing:
hwclock --systohc
8.2: Localization
A locale is a set of parameters that defines your system's language, region, and cultural conventions. It includes settings for:
- Language: The language used for system messages, menus, and user interfaces.
- Character Encoding: How text is encoded (e.g., UTF-8, en_US.UTF-8).
- Cultural Conventions: Formats for dates, times, numbers, and currency.
- To set your locale, type:
nano /etc/locale.gen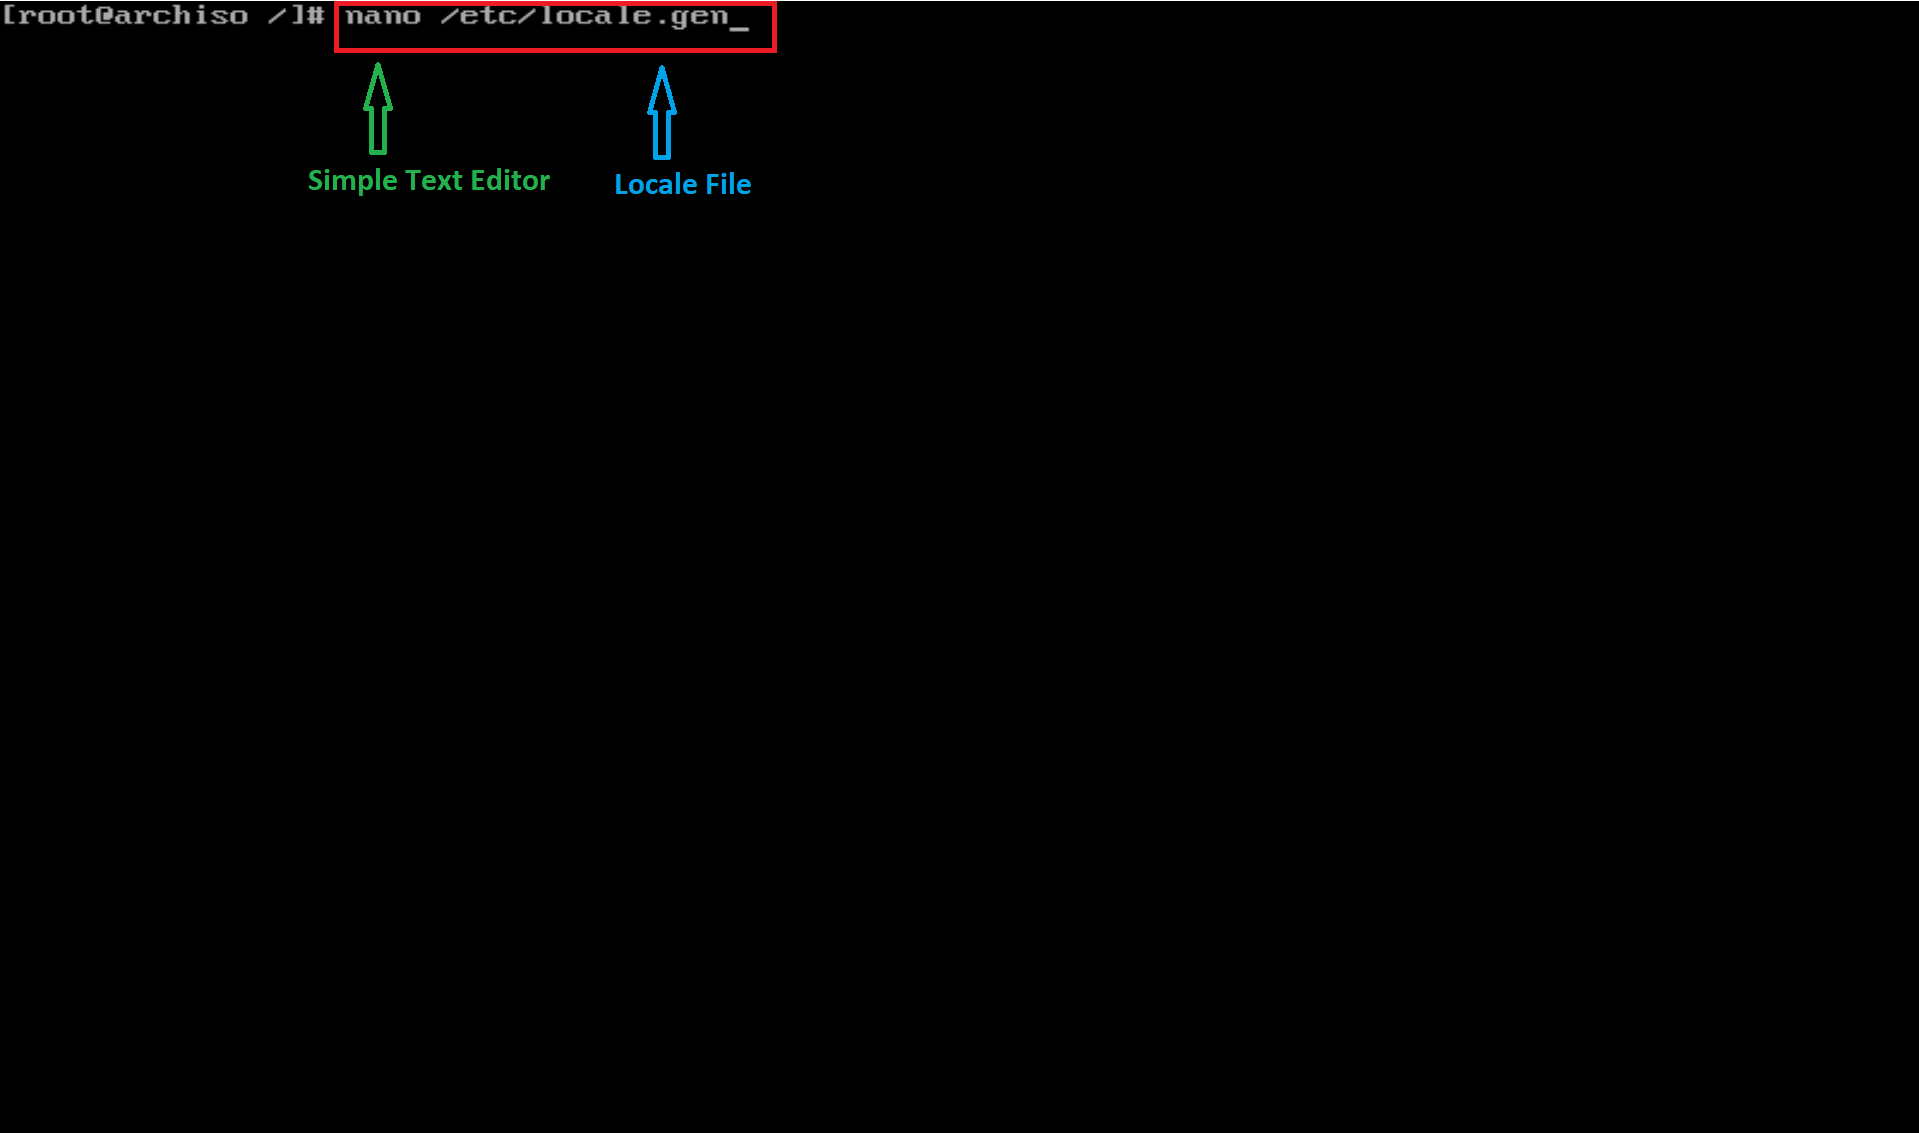
The nano command above will open the locale.gen file in the terminal, where we can set the locale to our needs.
- Nano will open a file like this:


You can navigate this file using the keyboard's Up () and Down () arrow keys.
- Navigate down () until you reach the locale you want to set for your system.
- Now, delete only the # symbol by pressing either the Del or Backspace key.
I am choosing the en_US locale for my system. However, you can choose your desired locale.


Now, to save the changes and return to the terminal, follow these steps:
- Press Ctrl + O to open a prompt to confirm saving changes. Press Enter to apply them.
- To exit the nano editor, press Ctrl + X.
Now, we need to generate the locale we just uncommented.
- To generate the locale, run:
locale-gen

Now that we have generated the locale, we still need to specify it in a locale.conf file because some programs use this file.
- Run:
nano /etc/locale.conf

In the locale.conf file, we will type our locale preset.
- Type the locale preset in the locale.conf file like this:
LANG=en_US.UTF-8 or fr_FR.UTF-8 depending on your locale, and save the file.
LANG=en_US.UTF-8

- Press Ctrl + O to save the changes. Then press Enter to apply them.
- Now press Ctrl + X to exit the file and return to the terminal.
8.3: Hostname
The Hostname is the name assigned to your system on a network, which helps identify your computer when communicating with other devices.
- To set the hostname for your system, type:
nano /etc/hostnameThis may open an empty file. Type the desired hostname (for my system I am typing MusaBase).


- Type the hostname you want.
- Press Ctrl + O to save the changes, then press Enter to apply them.
- Now, to exit from the hostname file, press Ctrl + X to return to the terminal.


8.4: Root Password
Now for security we need to set the root password. The root password is necessary for system administration, security, and managing Linux effectively.
- To set the root password, type:
passwdAfter typing passwd command you will be prompted to enter and re-enter the password for the root user.
Make sure to use a strong password, as root has full system control.

8.5: Add a User with SUDO Privileges
Adding a user with sudo privileges in Linux improves security by limiting direct root access and reducing the risk of accidental system damage, while also enabling controlled administrative access with auditability.
- To add a user, run:
useradd -m -G wheel -s /bin/bash username
8.5.1: User Password
Next, we set a password for the new user.
- Run:
passwd username- Replace username in the above command with your username and press Enter.
- Enter and re-enter password for the new user.


8.5.2: Giving User SUDO Privileges
Finally, set up sudo for the new user in the wheel group to allow controlled administrative access without directly using the root account. This improves security, prevents accidental system damage, and allows for auditability of privileged commands. Instead of logging in as root, the user can temporarily gain elevated privileges using sudo.
- To do this, type:
EDITOR=nano visudo

It will open up a sudoers file link in the 2nd picture, from here we can make the changes.
- Navigate to the bottom with keyboard's down () arrow key.
- Find this line at the bottom of the file:
# %wheel ALL=(ALL:ALL) ALL- Remove the # symbol by pressing either Del or Backspace key on your keyboard.


- Now, press Ctrl + O to save the changes, then press Enter to apply the changes.
- Now to exit press Ctrl + X and it will return you to the terminal.
By following these steps, we ensure that our system's base configuration is complete and secure. We have set up the time zone, localization, hostname, root password, and created a non-root user with sudo privileges. This comprehensive configuration prepares our Arch Linux installation for a stable and secure dual-boot environment alongisde Windows.
Step 9: Updating System with User Account (Optional)
Now that we've added a user with sudo privileges, it's time to test some sudo operations to verify that our new user has the necessary permissions. First, we'll switch from the root account to our newly created user.
- To switch from root to our new user, run:
su username

Next, we'll run a simple update command using pacman to verify sudo access and update our system.
- Run:
sudo pacman -SyuThis command will prompt us for our user's password and then update the system if any updates are available. If you have an already up-to-date Arch Linux installation, the command will simply inform you that no updates are needed.
My system was missing some updates, so the -Syu command updated my system, but you might not need to.


Step 10: Enabling Core Services
Before finally restarting our PC and logging into the installed system, we need to enable some core services. However, first we need to exit from our user shell prompt [username@archiso /]#_ to return to the root shell prompt [root@archiso /]#_ to perform these actions with administrative privileges.
- To exit from the user's shell prompt, run:
exit

- Now, we will enable Core Services like:
1. Enabling Network Manager.
2. Grub Bootloader.
10.1: Enable Network Manager
We need to enable Network Manager using the systemctl command to ensure that the system can automatically manage network connections after reboot.
- To enable NetworkManager, run:
systemctl enable NetworkManager

10.2: Grub Bootloader
GRUB (GRand Unified Bootloader) is a powerful and flexible bootloader used in Linux systems to manage the startup process. It loads the operating system kernel into memory and allows you to select between multiple OS installations. GRUB supports both UEFI and BIOS, offers a command-line interface, and can be customized for advanced boot configurations.
- To install GRUB, run:
grub-install /dev/sdb
# OR
grub-install --target=x86_64-efi --efi-directory=/boot --bootloader-id=GRUB

Replace /dev/sdb with your hard drive name or label. I installed Linux on my second drive which is /dev/sdb, so I am installing GRUB on this drive.
Now that GRUB is installed, we also need to generate its initial configuration file.
- To generate the GRUB config file, run:
grub-mkconfig -o /boot/grub/grub.cfg

Step 11. Rebooting
Now that we have completed all the necessary steps, we will exit the chroot environment and unmount all drives to prepare for rebooting into our newly installed Arch Linux system.
11.1. Exit the Chroot Environment
- To exit from the chroot environment, simply run:
exit

11.2. Unmount All Non-Busy Drives
Before rebooting, it is important to unmount all drives that are not in use.
- To unmount all non-busy drives, run:
umount -a

11.3. Reboot The System
Finally, we reboot our system. This will take us to the GRUB bootloader screen, from which we can choose to boot into Arch Linux. Later, we can install a GUI environment (such as KDE Plasma) and configure GRUB for dual booting with Windows.
- Run the following command to reboot:
reboot
By following these steps, we ensure that our system is properly configured and ready for the next phase. This final reboot will transition us from the installation environment into our fully installed Arch Linux system, paving the way for further customizations and the installation of a graphical interface.
Step 12. Booting into Installed Arch Linux System
After rebooting, our system will load into the GRUB bootloader, where we'll be greeted with this screen:

Once we select *Arch Linux, we will be greeted by Arch Linux's tty1 welcome screen, displaying our configured hostname:

At this point, enter the username and its password we set during the user creation process, then press Enter to log in.


Once we're logged in, our next task is to install a GUI to enhance our experience. We'll install KDE Plasma as our desktop environment with SDDM for graphical logins, and a few essential applications such as Konsole (the KDE terminal emulator), Kate (a powerful text editor), and Firefox for browsing.
- We can install all these components with a single combined command:
sudo pacman -S plasma sddm && sudo pacman -S konsole kate firefox && sudo systemctl enable --now sddm
After the packages and services are installed, we'll be presented with a graphical login screen:

Here, we enter the password for our user account and press Enter. Once authenticated, KDE Plasma will load along with its services, providing us with a fully functional desktop environment.

Now, we have Arch Linux with a modern desktop environment installed on our PC. We can install additional packages and applications through Konsole, our terminal, or directly from KDE's application manager as we tailor our system to our needs.
Step 13. Setting Up Dual Boot
Now, we need to install a utility tool such as (os-prober) and configure our GRUB configuration file so that GRUB can detect other operating systems (like Windows) on our computer.
Installing OS-Prober
- To install os-prober, first open terminal or konsole.
- Run:
sudo pacman -Sy os-prober


Configuring GRUB
Next, we need to configure the GRUB configuration file to enable OS detection. This allows GRUB to include boot entries for operating systems installed on other drives.
- To open the GRUB configuration file, run:
sudo nano /etc/default/grub
- Navigate to the bottom with keyboard's down () arrow key until you find the following line:
#GRUB_DISABLE_OS_PROBER=false
- Remove the # symbol by either pressing the Del key or Backspace key at the beginning of the line.

- Press Ctrl + O to save changes, then press Enter to confirm.
- Press Ctrl + X to exit from nano.
Updating GRUB
Now that we have installed os-prober and updated our GRUB configuration file, it's time to update GRUB so that it scans for all installed operating systems and generates an updated boot menu.
- To update GRUB's Config file, type:
sudo grub-mkconfig -o /boot/grub/grub.cfg
- If everything is configured correctly, we should see output similar to this:
Found Windows Boot Manager on /dev/sdx@/efi/Microsoft/Boot/bootmgfw.efi
By following these steps, we ensure that our GRUB bootloader is properly configured for dual booting. With os-prober enabled and GRUB updated, our system will automatically include boot entries for both Arch Linux and Windows, making our dual-boot setup seamless and user-friendly.
Step 14. Testing Dual Boot
Now that we have completed all the necessary configurations for dual booting, it's time to verify that everything works as expected.
- Reboot the system.
- Verify the GRUB Menu: When the system boots, the GRUB menu should display entries for both operating systems:

Booting into Arch Linux


Booting into Windows


At this point, we have a fully working dual boot system with Arch Linux and Windows installed on our PC. Whether we continue our everyday work in Windows or dive into the innovative world of Linux for exploration and experimentation, our setup offers the perfect balance to suit our diverse needs.
Frequently Asked Questions: Arch Linux Dual Boot Installation
Can I install Arch Linux on the same physical drive as Windows?
Yes, you can. However, it is safer to use a separate drive if available. If you must use the same drive, you need to shrink your Windows partition from within Windows (using Disk Management) to create unallocated space, then boot the Arch ISO and create your partitions in that free space. The guide assumes a separate drive (/dev/sdb) for clarity, but the partitioning steps are identical – just replace /dev/sdb with the appropriate device name.
Do I need to disable Secure Boot?
For the installation described in this guide, yes. Secure Boot often blocks unsigned bootloaders like the one we use (GRUB). You can disable it in your UEFI firmware settings before booting the Arch ISO. After installation, you can set up Secure Boot with signed bootloaders, but that is an advanced topic.
Why did we create a separate boot partition (1 GB) instead of using the existing Windows EFI partition?
Using a separate boot partition for Arch (mounted at /boot/efi) is cleaner and avoids accidentally breaking Windows’ boot entry. Both partitions are EFI system partitions, and your motherboard will still see both. The guide’s method installs GRUB on the Arch drive (/dev/sdb) and lets your UEFI choose between Windows Boot Manager and GRUB (or you can set GRUB as primary). This separation makes it easier to troubleshoot or remove Arch later without affecting Windows.
How much space should I allocate for root (/) and swap?
It depends on your usage:
- Root (/): 20–30 GB is enough for a base system with a desktop environment and several applications. If you plan to install many games or large software, consider 50 GB or more.
- Swap: Traditionally, swap size was double your RAM, but with modern systems, you can use:
- If you have 8 GB RAM or less → 4–8 GB swap.
- If you have 16+ GB RAM → you may not need swap at all, but having 2–4 GB can help with hibernation.
In the guide we used 1 GB for boot (FAT32), 10 GB for swap, and the rest for root.
Windows is not appearing in the GRUB menu. What went wrong?
This usually happens because os-prober was not run or the GRUB config wasn’t regenerated after enabling it. Follow Step 13 carefully:
- Install os-prober: sudo pacman -S os-prober
- Edit /etc/default/grub and uncomment GRUB_DISABLE_OS_PROBER=false.
- Regenerate GRUB config: sudo grub-mkconfig -o /boot/grub/grub.cfg
If Windows still isn’t found, ensure your Windows drive is mounted (it should be automatically detected by os-prober). Sometimes you need to mount the EFI partition of Windows manually, but os-prober usually handles it.
How do I set Windows as the default boot option in GRUB?
You can change the default entry by editing /etc/default/grub and modifying the GRUB_DEFAULT line. To set Windows as default, you need to know its exact menu entry name. First, list all entries with:
grep menuentry /boot/grub/grub.cfg
Then set, for example:
GRUB_DEFAULT="Windows Boot Manager (on /dev/sda1)"
After editing, save and regenerate the config: sudo grub-mkconfig -o /boot/grub/grub.cfg.
My system boots directly into Windows, ignoring GRUB. How can I fix this?
This means your UEFI boot order still prioritizes Windows Boot Manager. Enter your UEFI/BIOS setup (usually by pressing F2, F12, DEL during startup) and change the boot order to boot from GRUB (often labeled as “Arch Linux”, “GRUB”, or the name of your drive). If you installed GRUB on a separate drive, you might need to select that drive as the first boot option.
How do I fix the clock being off by a few hours when switching between Windows and Arch?
This is a known issue: Windows uses local time for the hardware clock, while Linux uses UTC by default. To make Linux use local time (so it matches Windows), run:
sudo timedatectl set-local-rtc 1
You can verify with timedatectl. Alternatively, you can make Windows use UTC (requires a registry edit), but the above command is simpler.
Can I access my Windows files from Arch Linux?
Yes! Arch Linux can read and write NTFS partitions. You just need to install ntfs-3g:
sudo pacman -S ntfs-3g
Then you can mount your Windows partition (e.g., /dev/sda2) to a folder and access your files. For automatic mounting at boot, add an entry to /etc/fstab.
What should I do if I see “GRUB rescue” after installation?
The “GRUB rescue” prompt means GRUB cannot find its files. This usually happens if you installed GRUB to the wrong disk or if the partition layout changed. To recover, boot from the Arch USB again, mount your root and boot partitions, then reinstall and reconfigure GRUB:
mount /dev/sdXY /mnt          # your root partition
mount /dev/sdXZ /mnt/boot/efi  # your boot partition
arch-chroot /mnt
grub-install /dev/sdX           # the disk where GRUB should be installed
grub-mkconfig -o /boot/grub/grub.cfg
exit
reboot
How do I uninstall Arch Linux and reclaim its space?
To remove Arch Linux:
- Boot into Windows.
- Open Disk Management (diskmgmt.msc).
- Delete the Linux partitions (the ones you created for Arch: boot, swap, root).
- Extend your Windows partition or create a new volume with the freed space.
- Finally, remove the GRUB entry from UEFI using an elevated command prompt:
diskpart → list disk → sel disk X → list partition → identify the EFI partition (usually FAT32) → sel partition Y → assign letter=Z → exit
Then navigate to Z: and delete the EFI\GRUB folder. Remove the boot entry with bcdedit or a tool like EasyUEFI.
Is it possible to share a partition between Windows and Arch Linux?
You can use a shared NTFS partition for data files (documents, media). However, do not use the same partition for system files or applications – Linux can’t run Windows executables natively (unless using Wine), and Windows can’t use Linux filesystems like ext4 without third-party tools. For a shared data partition, format it as NTFS and both OSes will be able to read/write it.
Why did the guide use mkfs.fat for the boot partition instead of ext4?
UEFI firmware requires the EFI system partition to be formatted with a FAT filesystem (usually FAT32). This is a UEFI specification requirement. The kernel and initramfs are stored on the root partition (ext4), but the bootloader itself (GRUB) places its EFI application in the FAT32 partition.
I don’t want KDE Plasma. How can I install a different desktop environment?
In Step 12, the guide installs plasma (KDE). If you prefer another DE, replace that package with your choice. For example:
- GNOME: sudo pacman -S gnome
- XFCE: sudo pacman -S xfce4
- LXQt: sudo pacman -S lxqt
- Cinnamon: sudo pacman -S cinnamon
You’ll also need a display manager (like SDDM, GDM, LightDM) – SDDM works well with KDE, but GDM is typical for GNOME, etc. Adjust the systemctl enable command accordingly.
What are the most common mistakes during this dual‑boot installation?
- Not disabling Secure Boot, causing boot failure.
- Forgetting to write partition changes in cfdisk (the partitions are not created).
- Mounting the boot partition to the wrong directory (must be /mnt/boot/efi for UEFI).
- Not generating or verifying fstab, leading to boot errors.
- Not enabling NetworkManager, resulting in no network after first boot.
- Not installing grub correctly or forgetting to generate its config.
- Using the wrong partition names in commands.
- Skipping the os-prober step, so Windows never appears in GRUB.
🎉 Congratulations, your setup is complete!
You have successfully configured your system. This setup provides the ultimate flexibility for your daily workflow.
If this guide helped you, subscribe for more step-by-step tutorials.
101 out, I’ll see you in the next one! 🚀